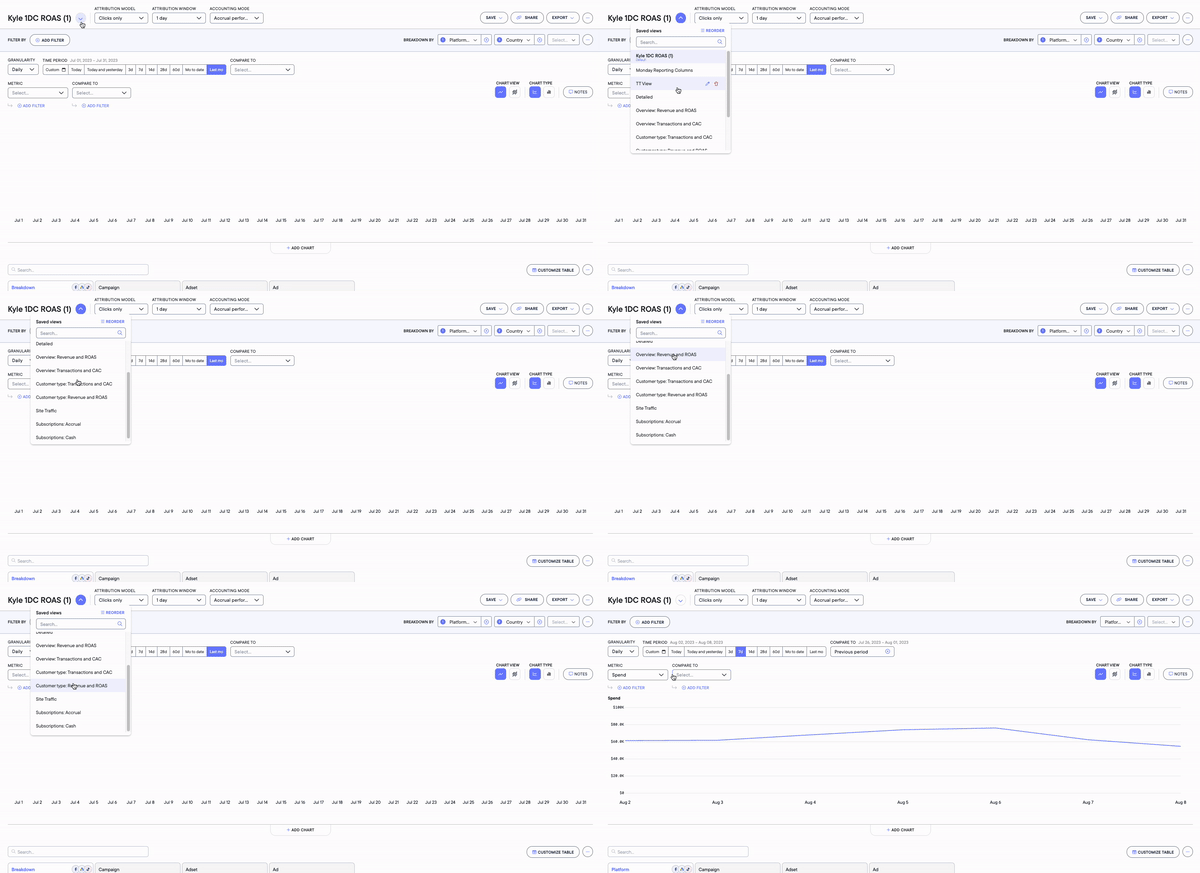
Quickly get to the metrics that matter most to you with Northbeam’s Saved Views feature

Northbeam's Saved Views feature allows you to save any set of parameters so you can quickly hone in on key metrics that matter most to you!
The Saved Views feature allows you to combine data management with personalization much easier. After publishing a view, any user who has access to your company’s Northbeam dashboard can access the preferred view. Is there a specific way you like to view your data? What marketing campaign goals do you want to be able to track quickly?
To help inspire your preferred Saved Views, our leading in-house performance marketers have set up 5 templated saved views (their favorites for day-to-day optimizations!) that showcase the advantage you can gain from focusing on the metrics that matter most.
How to publish a Saved View
During the process of creating a Saved View, prioritize what your marketing campaign’s goal is. Focusing on a single goal makes it easier to sort, filter, and pinpoint the exact metrics you want to see to make decisions quickly.
To publish a Saved View, follow these steps:
- Log in to your Northbeam Dashboard and click the Sales tab on the left panel.
- Select the parameters and filters you prefer to view, then click
 at the top of the dashboard
 - Name your view and click Save
You will be able to select your Saved View by clicking the dropdown on the left of the Save + button
How to reorder the Saved Views
- Login to your Northbeam Dashboard, and select the Sales tab on the left panel.
- Click Manage ☸ at the top of the dashboard next to the Saved Views dropdown.
- Hover over the icons on the left of the Saved Views names.
- Drop and drop to your ideal position.
- Then click Save at the bottom of the Manage Saved Views pop-up.
How to delete a Saved View
- Login to your Northbeam Dashboard, and select the Sales tab on the left panel.
- Click Manage ☸ at the top of the dashboard next to the Saved Views dropdown.
- Scroll down to the Saved View you want to delete and click the trash symbol on the right.
- Select Yes, Delete when prompted are you sure you want to delete?
- Then click Save at the bottom of the Manage Saved Views pop-up.